OBKA Tutors Blog #5 – Inspections
April 16.
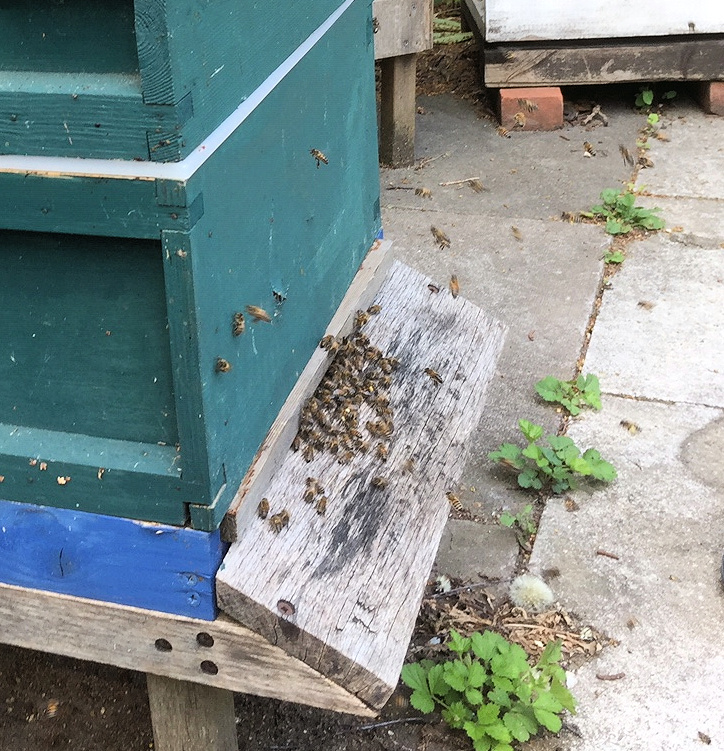
The Sun is out with a light breeze and the bees are flying well. Taking time to watch the hive entrance for a moment, I give it a light smoke. (With good-tempered bees it is hardly needed, but I find it polite to ‘knock at the door’, so to speak.) Plenty of pollen is going in and I can see the heavily laden bees trying to make the alighting board and not always adjusting their flight in time! The front of the hive is free from bee poo which, if in any quantity, can be an indication of trouble. On the paving slab around the hive are a few corpses of worn-out worker bees who have done their best for the colony: this is a sight you do not see if your bee hives are on grass. The best sight to watch at the hive entrance is lots of bees taking their orientation flight. They fly facing the hive, zigzagging across the hive entrance and slowly moving further away.
The smoke by now will have circulated within the hive: it take less than a couple of minutes for the bees to fill their honey stomachs and any alarm pheromones released when you open up the hive will be masked by the smoke.
Bees orientating in front of one of David's hives

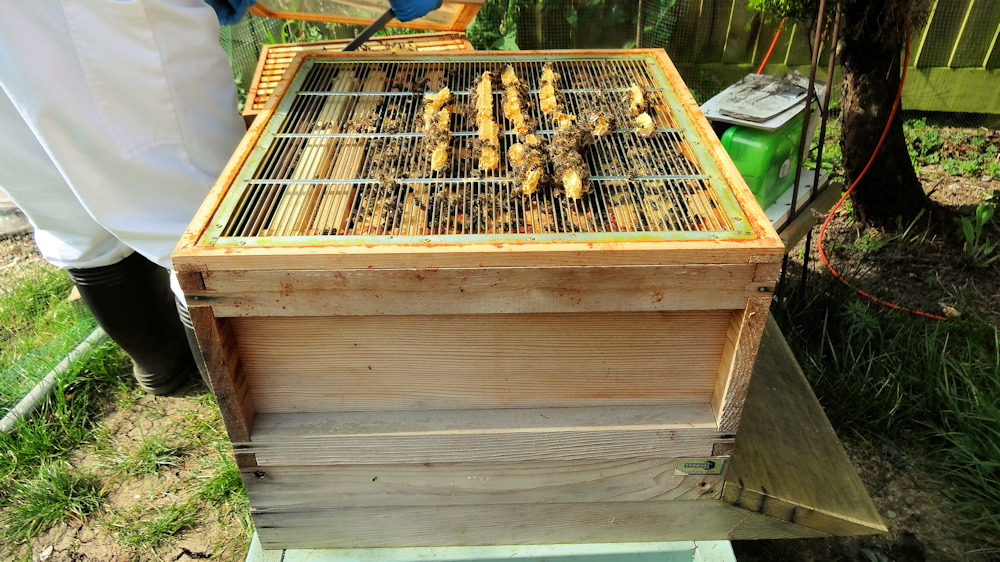
The roof is lifted off and turned upside down on the ground. As I have some supers on, the crown board is just loosened but not removed. Next, I place the hive tool into the corner between supers and gently lever the supers apart. Once free, I drift a little more smoke between the supers before lifting them off and placing across the upturned roof. The crown board is then taken off and placed on top of the second super which is still on the hive and the process repeated to expose the Queen Excluder.
Two things to bear in mind: you want the supers exposed as little as possible so as not to attract robbing, wasps, etc, and smoked honey will not taste good and you won’t get repeat customers!

Webmaster placing crown board on top of supers in the background
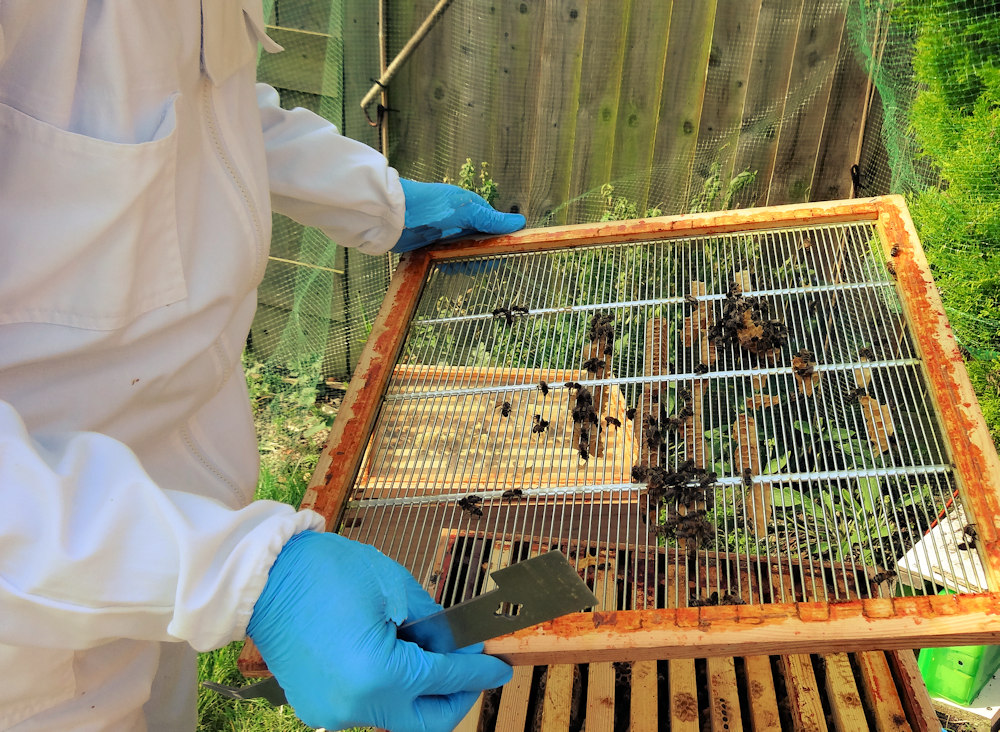
I give a couple of puffs over the QX to get the bees down onto the brood box ( if the bees are in the box they are not flying around bothering you). The QX is levered off, (a good tip is to twist slightly as you lift.) I check the QX for the Queen, then place it edge down with the inner facing side facing the hive, just in case I missed seeing the Queen.
With the dummy board removed and checked for the Queen I place it on the other side of the hive.

Inspecting the QE - just in case she is on there somewhere
So what am I looking for?
H. Home. (space)
I. Increase
V. Varroa (disease)
E. Eggs
S. Stores
Have the bees enough room, are they increasing, are they healthy, are there eggs and larvae, do they have enough stores if the weather changes?
The first couple of frames were stores with plenty of pollen. The brood nest started next, with a just few capped cells near the middle and larvae around. As I check further in, the frames became full of brood with a small arc of pollen and Honey at the top. Where the brood comb had become damaged over time, the bees took the opportunity to adjust the cell size to take drone brood, a good sign the colony is progressing and a sign that they are getting in to a position to swarm later on. A few play cups were to be seen waiting for the Queen to lay in them and start a Queen cell, but after checking them all and finding no egg inside, I just continued to check through the rest of the frames. I then reassembled the hive and made a few notes as a reminder. (Hive notes are an important habit to acquire while everything is fresh in your mind.) This colony could be in a position to swarm in a few weeks once the the drone brood has emerged and matured.
By the time this appears on the blog I will have already completed my first swam control of the year on my largest colony.
David Lord